
Hello Community!
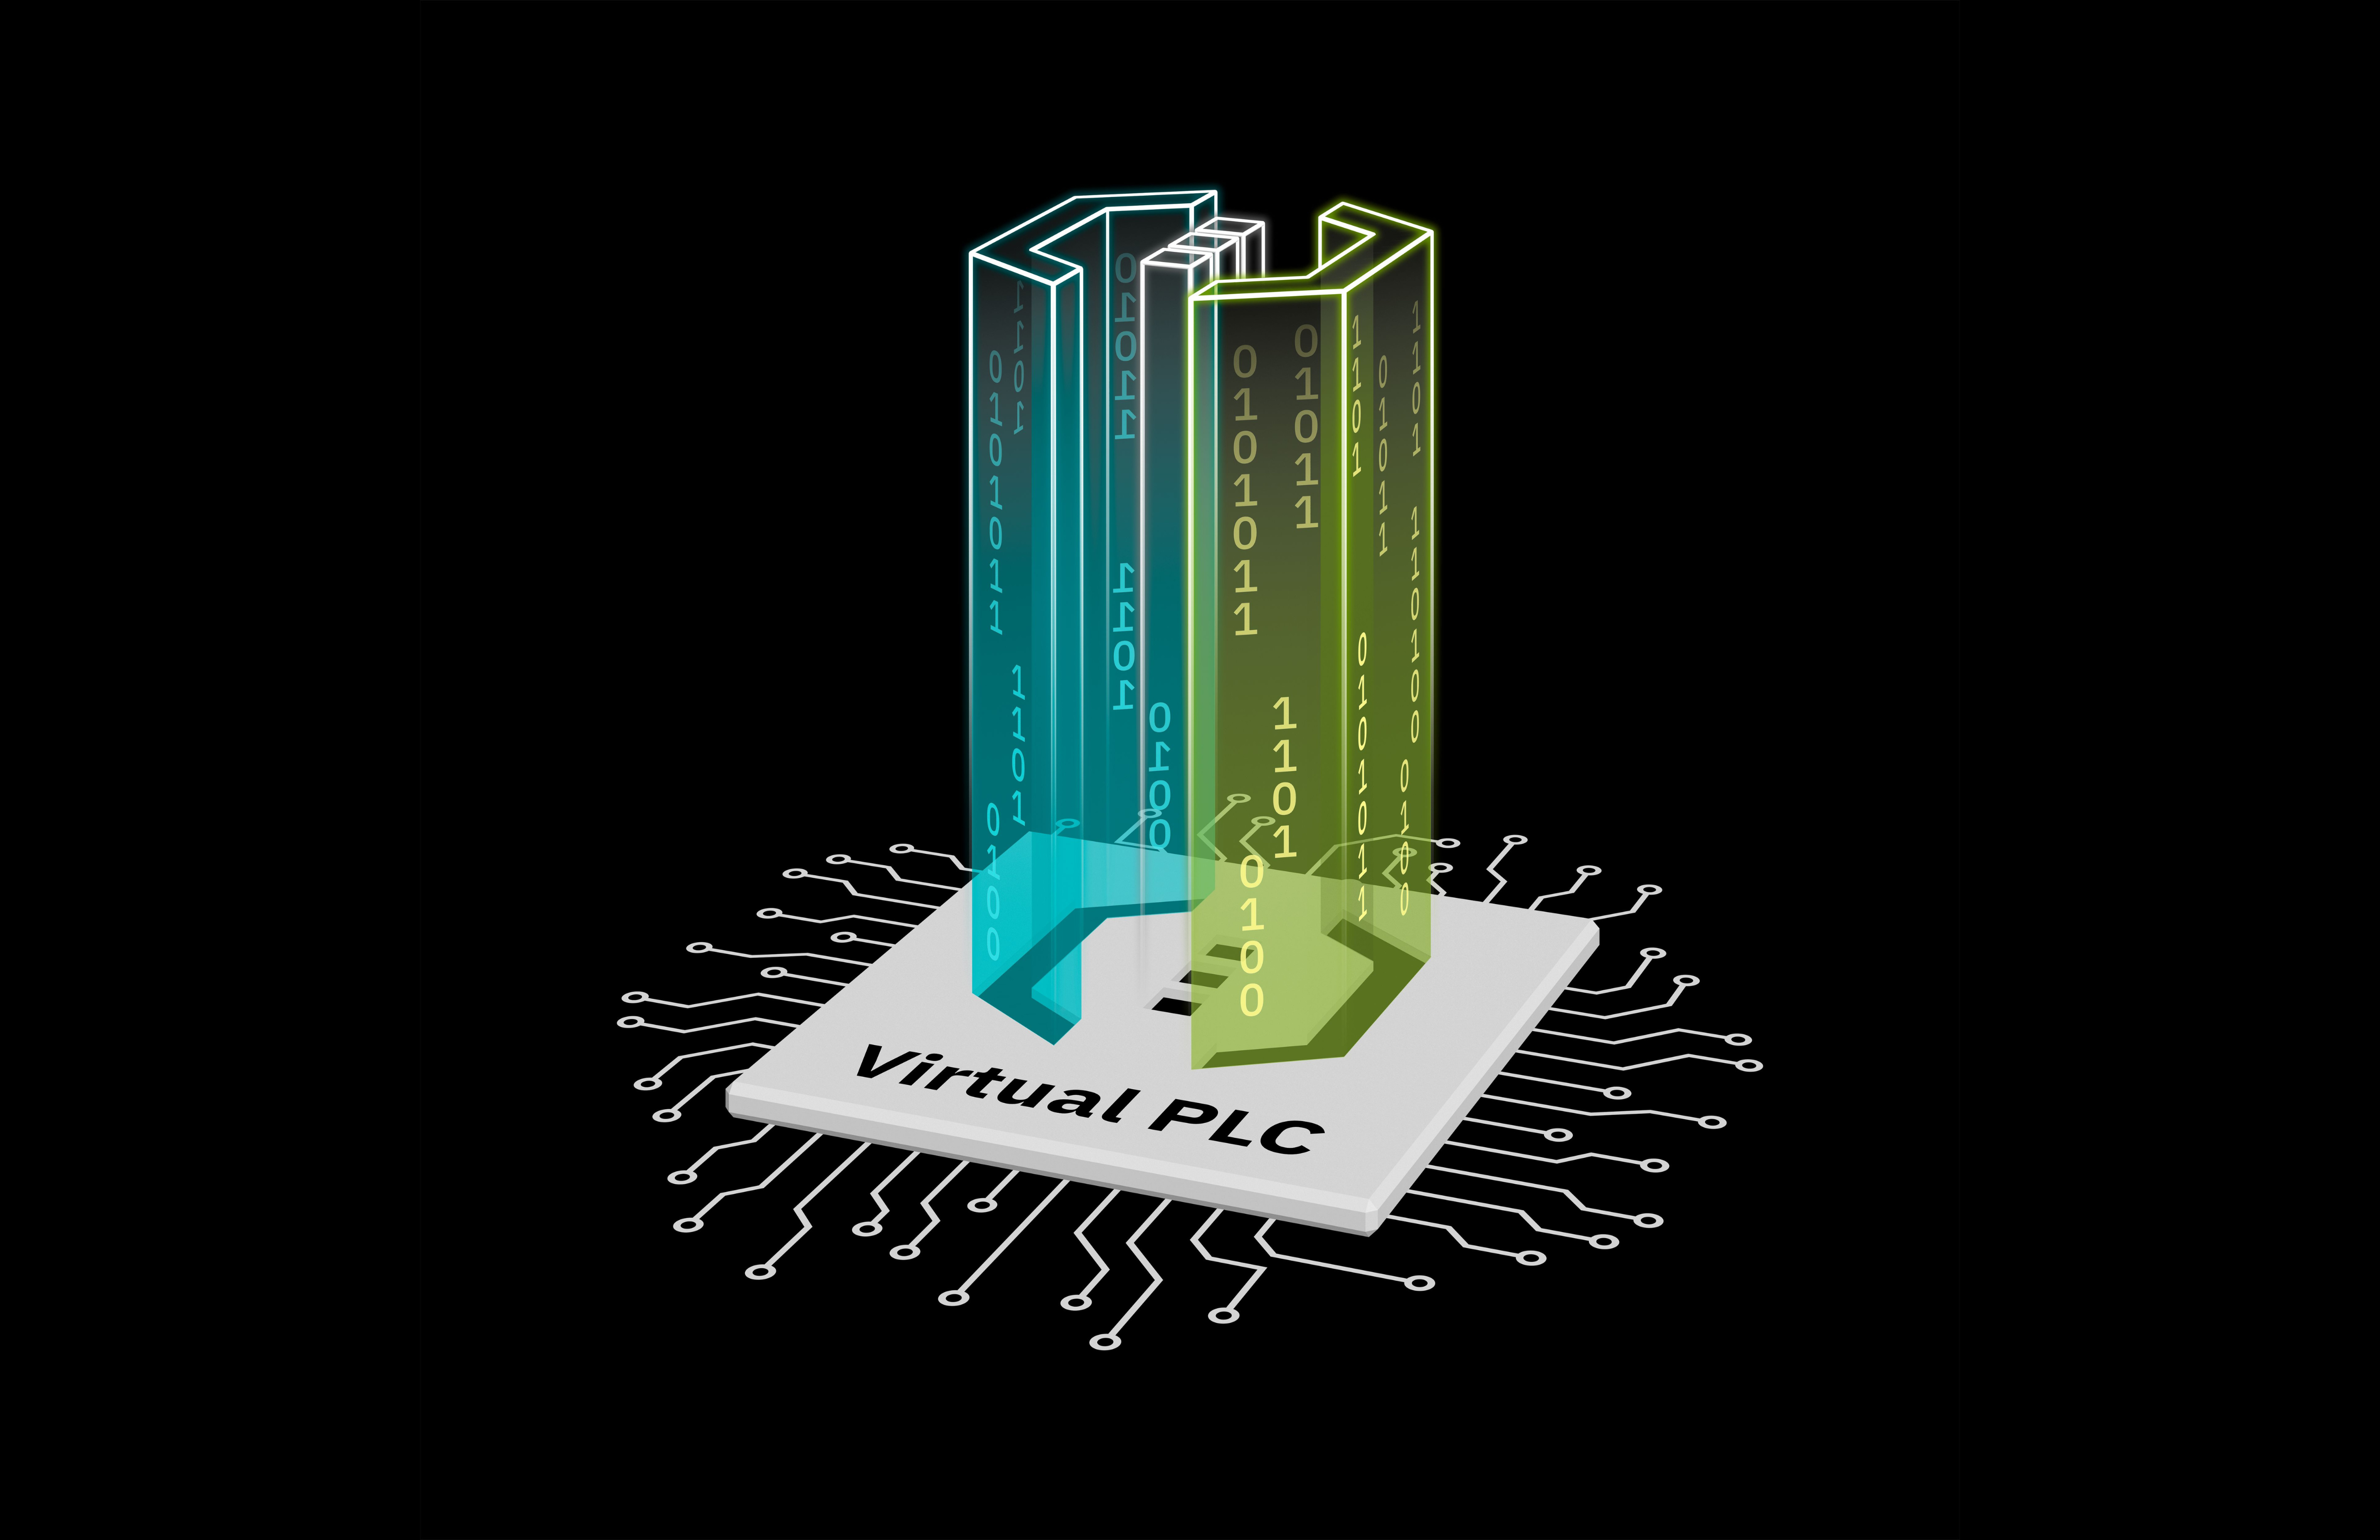
When we meet with PLCnext Technology, as developers we can’t wait to try its functionalities 😊 So, with the great milestone of New PLCnext Engineer Simulation and inspired by this article Node-RED communication with an AXC using the PLCnext Connector now we can interact from our simulation environment with Node-RED, and in this way, test IoT functionalities before we have the hardware on the table.
Installing Node-RED on Windows 10
Node-RED can run on multiple platforms, it's a very lightweight visual programming tool that we can install in our PLCnext controllers (on a Docker container for example) and also in a PC. For this demo, follow the installation steps for Windows 10 in this guide. After that, you can run the application using the cmd tool or PowerShell with the command node-red.
Once it's running, just type in your favorite web browser the the URL http://localhost:1880.
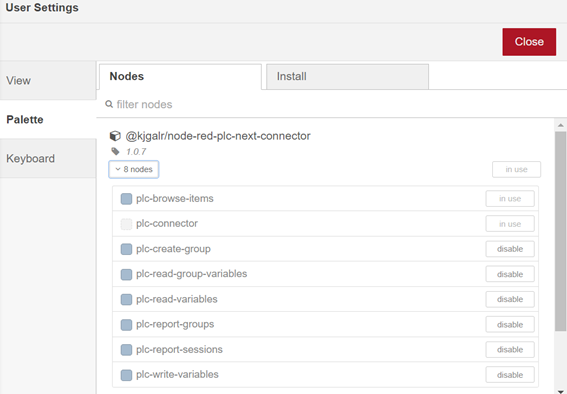
Downloading Node-RED connector for PLCnext
The following article show us how to download and use a node to connect our PLC variables in PLCnext Engineer with Node-RED via REST, you can found more information in the npm repo. So, in this step you only have to search the node in the Manage Palette and install it:
Configuring PLCnext Engineer Project
You need to install the Firmware image for AXC F 1152 from the Phoenix Contact website and the software PLCnext Engineer >= 2022 version to use the Simulation environment.
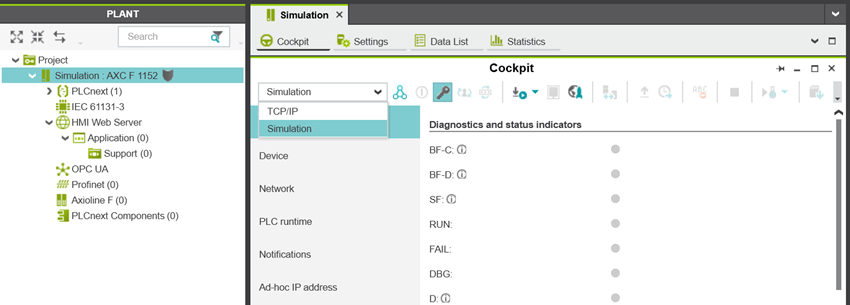
- Create a project for that controller, go to the Cockpit area and then change the connection to “Simulation”.
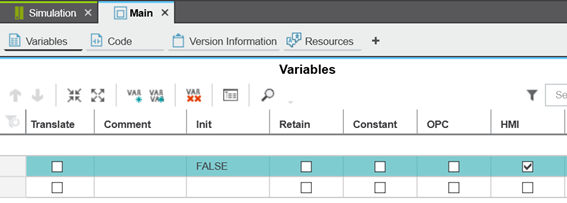
- Choose the program variables that you want to share with Node-RED checking the “HMI” box.
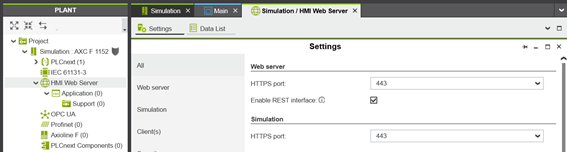
- Go to the Plant area and double click on HMI Web Server. Enable REST interface checkbox.
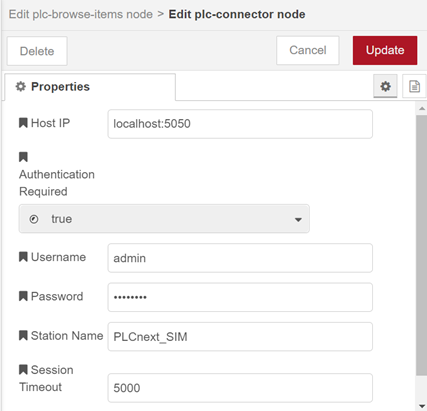
That’s all! Connect and download the project to your simulation environment. Remember that the credentials are “admin” as user and “plcnext” as password.
Check connection in Node-RED
You can try a “plc-browse-items” node to add the PLCnext connection. You have to use the same credentials and enter in Host IP the URL “localhost:5050”.
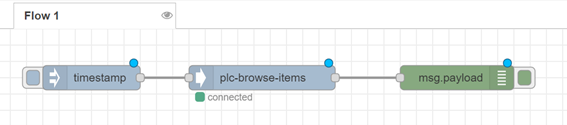
Deploy your code and voilà! Your connection is ready to read and write your PLCnext program variables in your favorite 61131-3 language 😉
If you want to know more about REST data interface, you can visit the Info Center.
Happy code!
Leave a Reply
You must be logged in to post a comment.