Starting up the service interface of the AXC F 3152
Available from firmware version 2023.9 for AXC F 3152 with hardware version ≥04
- Check the hardware version and firmware release of your controller in the Web-based Management (upper right corner on each page).
The service interface is deactivated by default. Follow these instructions to activate the service interface and connect to the controller via that interface.
Activating the service interface
- Make sure that the controller is in the
STOPstate. - Connect an Ethernet interface of the controller to a free Ethernet interface of your PC.
- Open an ssh session using a command line tool (e.g., PuTTY or Tera Term).
- Log in to the controller as administrator.
- To activate the service interface, enter one of the following commands:
sudo usbctrl-plcnext on(for activating the service interface with the default IP address 128.0.0.1/30)
or
sudo usbctrl-plcnext on -i xxx.xxx.xxx.xxx/y(for activating the service interface with a user-defined IP address,
e.g.,
sudo usbctrl-plcnext on -i 172.16.15.123/16).
Note: If the command is executed successfully, it does not return a response. The service interface is restarted automatically.
- To check whether the command was executed successfully, enter one of the following commands:
usbctrl-plcnext -s(returns the current state of the service interface)
or
ifconfig(returns a list of all the configured interfaces)
Hide exampleExample for a successful configuration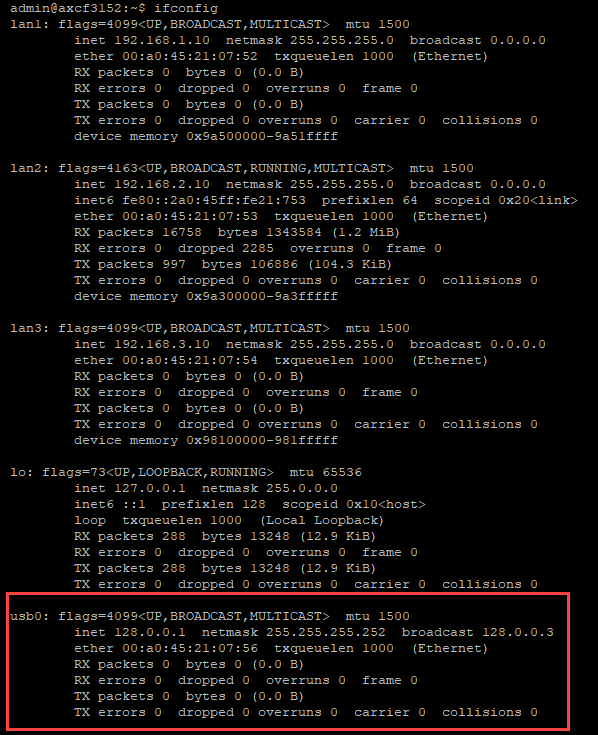
Once you have activated the service interface, it is always active, as long as you don't deactivate it via a shell command.
Even a reset to default setting type 1 has no effect on the activation status of the service interface.
Further information on available commands
To get an overview of the available commands, enter the following command:
usbctrl-plcnext -h
| Command | Short form | Long form | Description |
| on | -e | --enable | Activate the service interface |
| off | -d | --disable | Deactivate the service interface |
| Optional commands | |||
| -i | --ip-mask | Set a user-defined IP address and subnet mask | |
| -s | --status | Show the activation status of the service interface | |
| -h | --help | Show all available commands | |
| -v | --version | Show the version of the usbctrl-plcnext script |
|
Connecting the controller

Damage to the USB interfaces
In PCs, the USB interfaces are usually not electrically isolated from the rest of the hardware. This does not cause any problems for USB devices that do
not have their own reference ground. However, if you connect grounded devices (e.g., the AXC F 3152), ground loops with undesired compensating currents may occur. These compensating currents can impair data transmission and, in extreme cases, destroy the USB interfaces.
Recommended: Connect the service interface of the AXC F 3152 to your PC in such a way that it is electrically isolated. To do this, use a USB isolator.
- Connect the service interface of the controller to a free USB interface of your PC.
↪ A new adapter is displayed in the Device Manager of your Windows PC.
Windows 11: The adapter is displayed under Network adapters as UsbNcm Host Device. You can now configure the IP settings of the adapter.
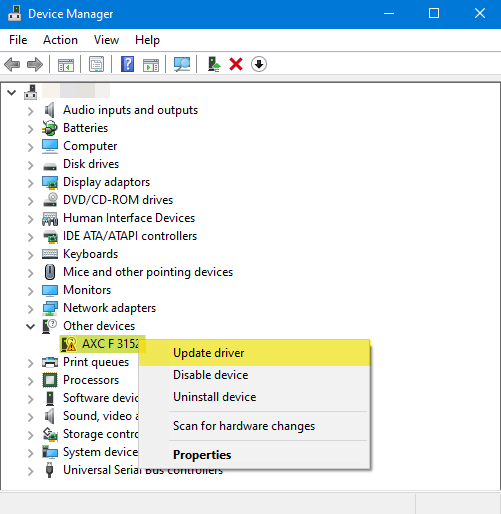
Windows 10: The adapter is displayed under Other devices as AXC F 3152. To use the adapter, you must install a USB driver. Proceed with the following section.
Installing the USB driver under Windows 10
- Right-click the AXC F 3152 controller under Other devices.
- From the context menu, select Update driver.
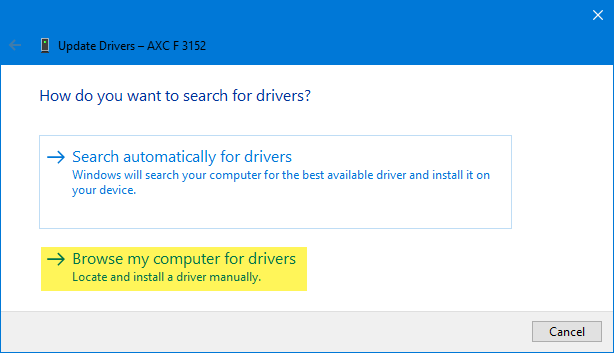
- In the window that opens, select Browse my computer for drivers
- Select Let me pick from a list of available drivers on my computer.

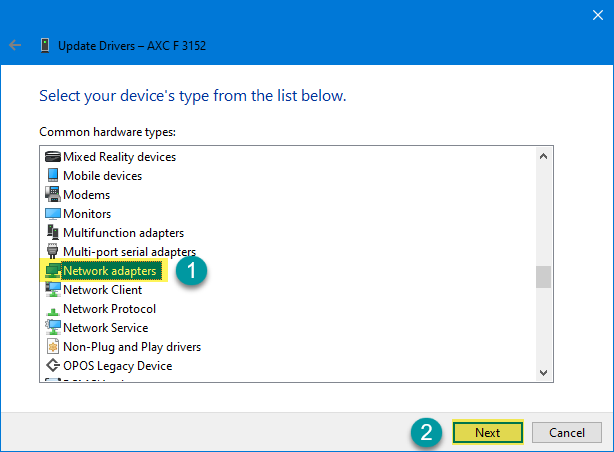
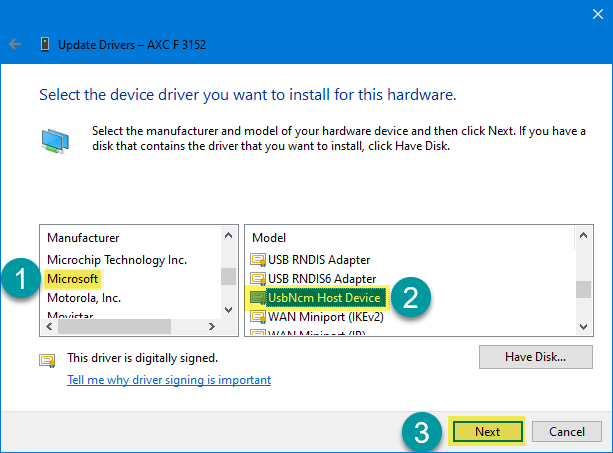
- From the list that opens, select Network adapters and click Next.
- Select Microsoft in the left list and UsbNcm Host Device in the right list. Click Next.
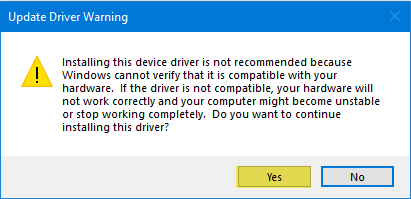
- Confirm the system message with Yes.
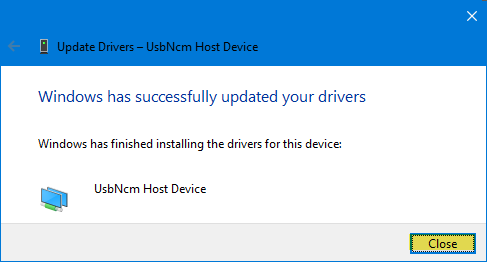
↪ The driver installation is started. Close the window when the installation is complete.
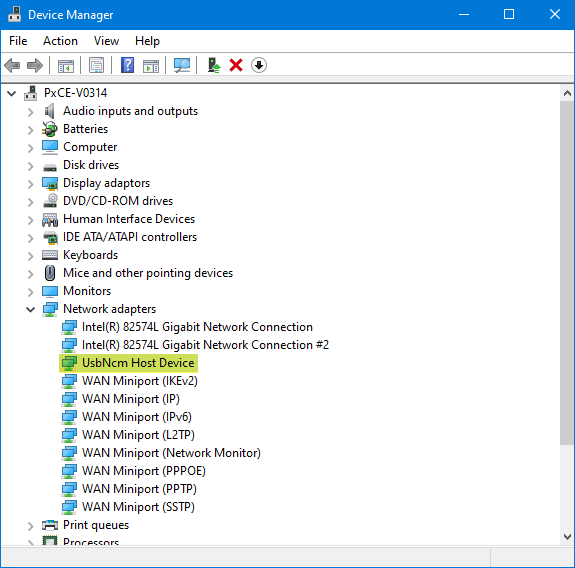
↪ In the Device Manager, the adapter is now displayed under Network adapters as UsbNcm Host Device.
Configuring the IP settings
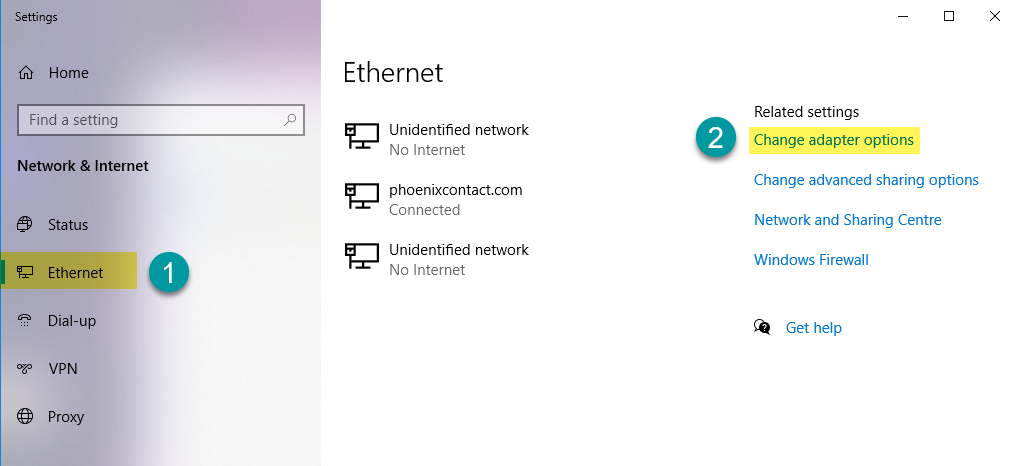
- Open the Network & Internet settings on your Windows PC.
- Under Network & Internet, click Ethernet.
- Under Related settings, click Change adapter options.
↪ The Network Connections are opened.
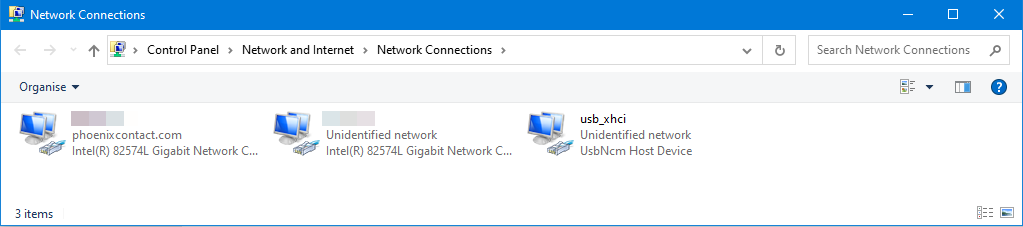
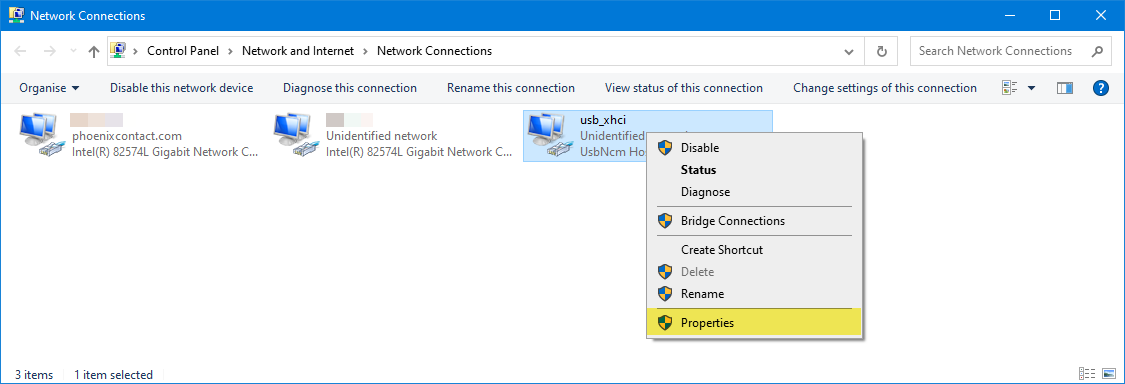
- Right-click the adapter usb_xhci.
- From the context menu, select Properties.
- In the usb_xhci Properties dialog, select Internet Protocol Version 4 (TCP/IPv4).
- Click Properties.

- Click Use the following IP address.
- Enter an IP address and a subnet mask that correspond to the IP address of the USB-C interface of the controller.
Note: If you use the service interface with the default IP address, enter the IP address and the subnet mask as shown in the following figure.
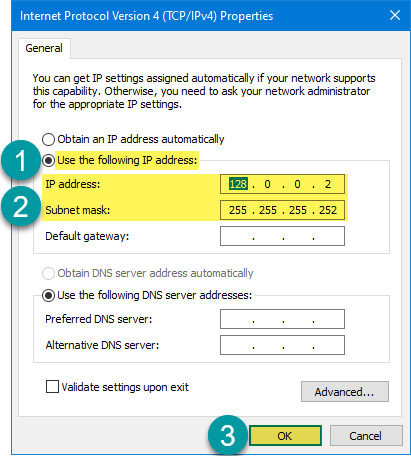
- Click OK to confirm the settings.
↪ With your Windows PC, you can now access the controller via the service interface.
You can access the controller via, e.g.,- PLCnext Engineer
- Web‑based Management
- ssh session by means of a command line tool
Accessing the controller via PLCnext Engineer
- Open PLCnext Engineer.
- Open your AXC F 3152 project.
- Double-click the controller node in the PLANT area.
↪ The controller editor group opens. - Select the Cockpit editor.
- Select the Ad-hoc IP address view.
- Activate the Enabled checkbox.
- In the respective input field, enter the IP address of the service interface.
Note: Do not change the value in the Port input field.
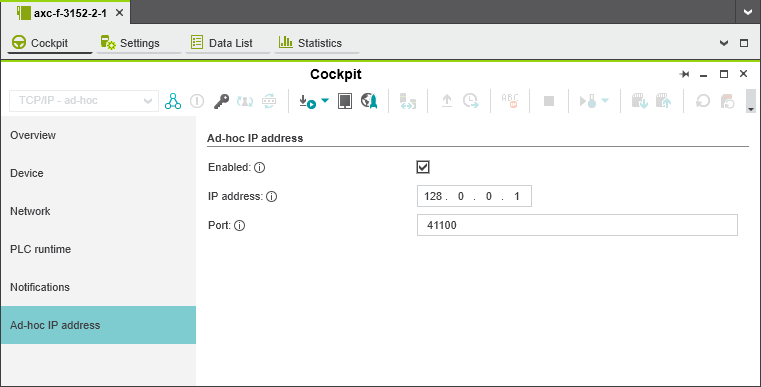
↪ You can now connect PLCnext Engineer to the controller.
Accessing the controller via the Web‑based Management
- Make sure that port 443 has not been blocked by a firewall rule.
- Open a web browser on your Windows PC.
- In the address field, enter the URL https://ip.address.of.interface (default IP address: 128.0.0.1).
Note: If there is a PLCnext Engineer HMI application on your device, entering the URL https://ip.address.of.interface calls the PLCnext Engineer HMI application instead of the WBM. To call WBM directly, enter the URL https://ip.address.of.interface/wbm.
- When you open the WBM for the first time, authorize the TLS certificate in your web browser.
- Login to the WBM.
Deactivating the service interface
- Make sure that the controller is in the STOP state.
- Connect an Ethernet interface of the controller to a free Ethernet interface of your PC.
- Open an ssh session using a command line tool (e.g., PuTTY or Tera Term).
- Log in to the controller as administrator.
- To deactivate the service interface, enter the command
sudo usbctrl-plcnext off.
Note: If the command is executed successfully, it does not return a response.
- To check whether the command was executed successfully, enter one of the following commands:
usbctrl-plcnext -s(returns the current state of the service interface)
or
ifconfig(returns a list of all the configured interfaces)