Offline activation
General information
Phoenix Contact recommends that you install your licenses online. If you cannot or do not want to connect your devices to the PLCnext Store via the Internet, you can activate licenses offline (as described below).
Prerequisites:
- Your device is already added to your PLCnext Store account as described in section Adding your prepared controller to your account in the PLCnext Store.
- There is a license in your license pool.
To activate licenses offline, you need to exchange three files between the device and the PLCnext Store:
| *.PLCnextRaC (license context file, former *.WibuCmRaC): | device | → PLCnext Store |
| *.PLCnextRaU (license update file, former *.WibuCmRaU): | PLCnext Store | → device |
| *.PLCnextRaR (license receipt file, former *.WibuCmRaR): | device | → PLCnext Store |
To do this, you use two wizards: a PLCnext Store wizard and a WBM wizard. Below you will learn exactly how to proceed. Go through the points from top to bottom and switch between the two wizards as you are told in the text.
Let's start
All steps in this column take place in the PLCnext Store.
All steps in this column take place in the WBM.
Open the PLCnext Store wizard (for details, see the topic Installing a license):
- Select a license from your license pool by clicking the button of the respective license.
- Select the device on which you want to activate the license.
(You must have already added the device to your PLCnext Store account, see the topic Connecting a PLCnext Control with the PLCnext Store .) - Choose the installation option .
- Accept the Customer terms for the PLCnext Store and the Software License Terms.
- Click the button.
Open the WBM wizard:
- Open the WBM:
https://<IP-address-of-the-controller>/wbm,
for example: https://192.168.1.10/wbm - Open the License Management page (Administration → License Management).
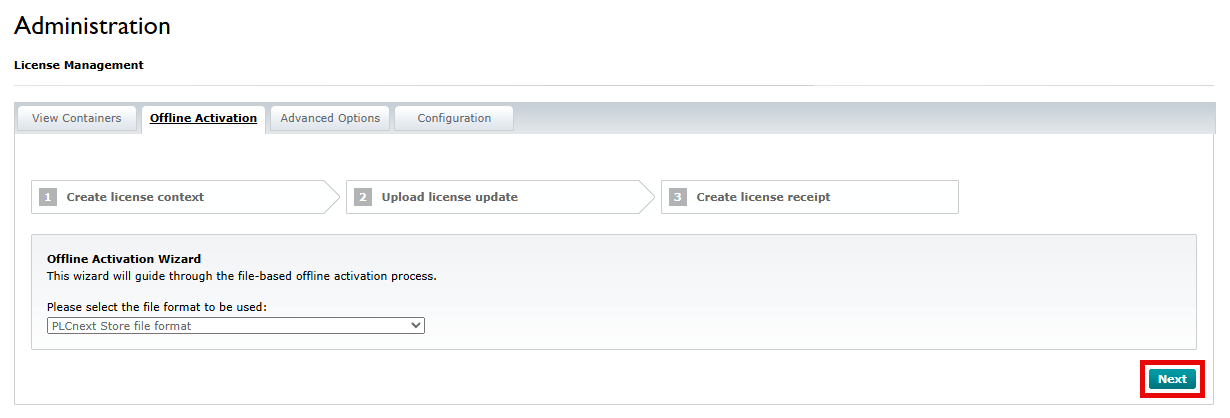
Open the Offline Activation tab and click the button.
If no container was found, create one directly via the standard procedure:
- Available from 2021.9:
At the Device drop-down menu, select whether you want to create a license container on the PLCnext device or on the SD card. - Click on .
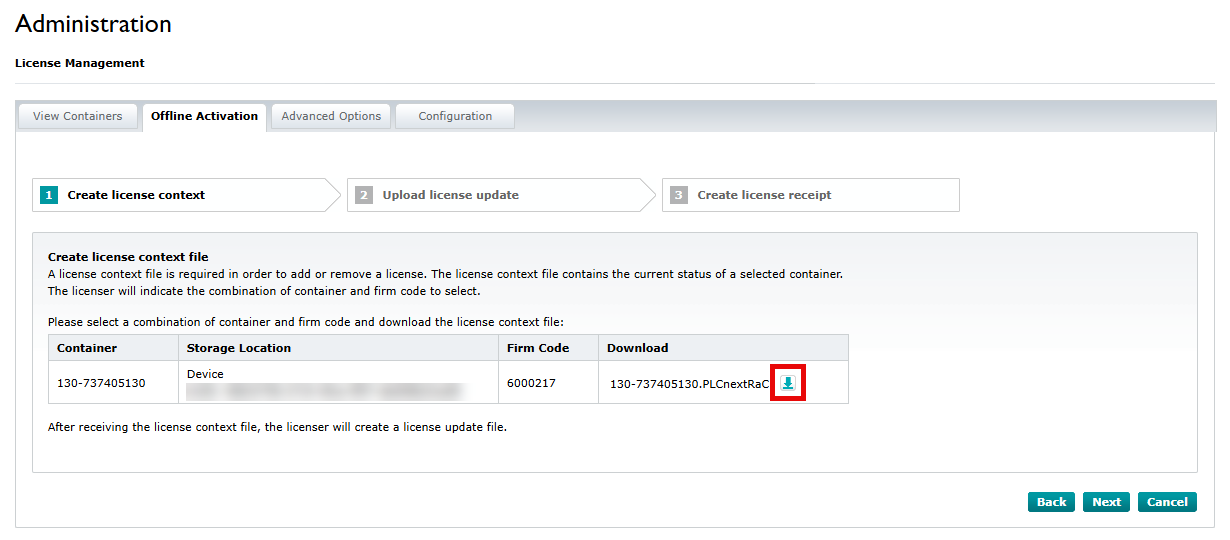
In any case, proceed as follows:
- Download the license context file (by clicking the
 ) and save it on your PC.
-
Click the button.
Switch to the PLCnext Store.
- Upload the *.PLCnextRaC license context file:
- Click the button.
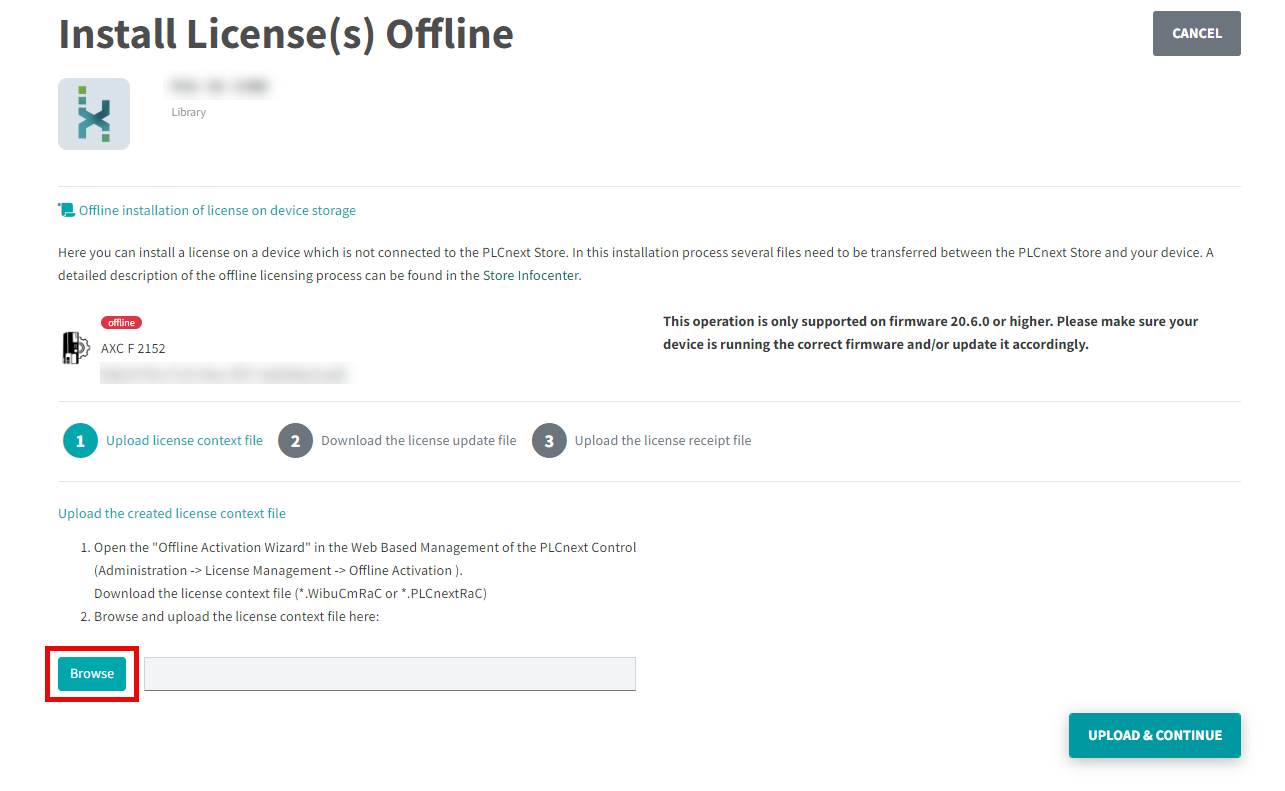
- Select the *.PLCnextRaC license context file that you just saved on your PC.
- Click the button.
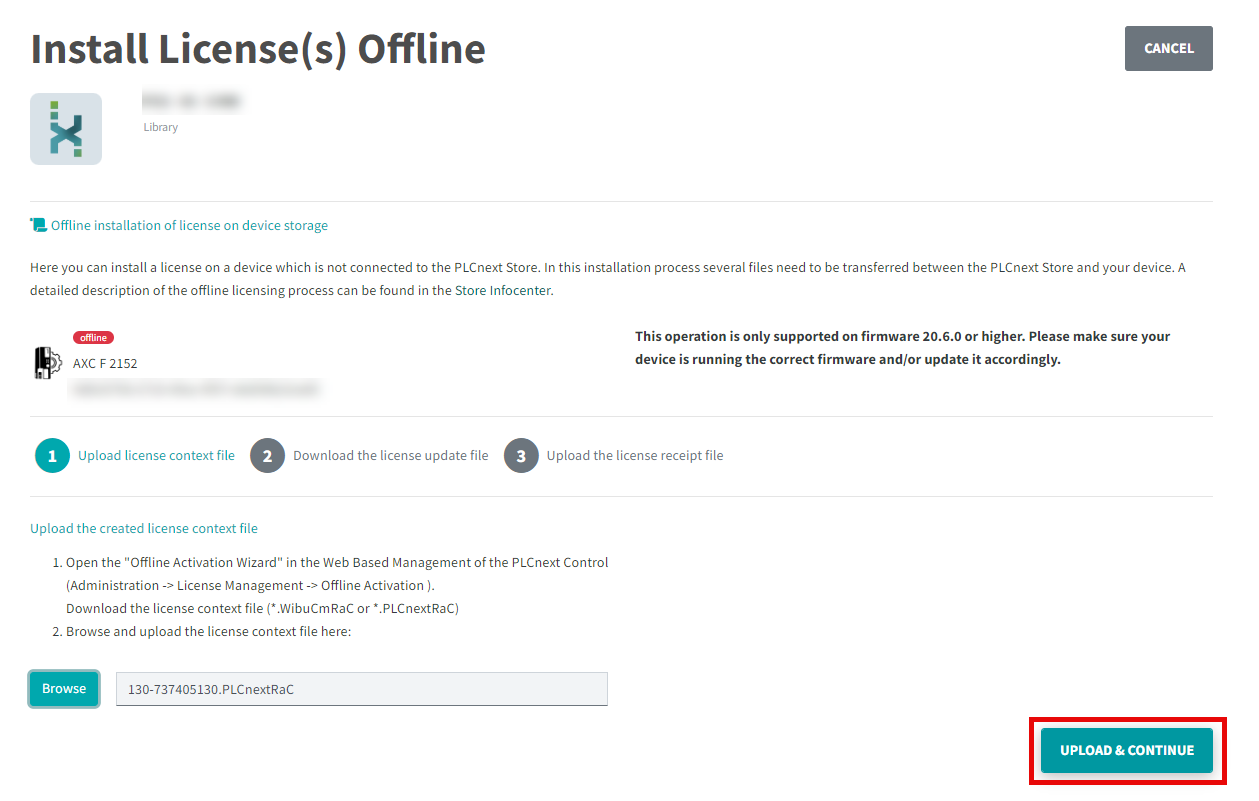
- Click the button.
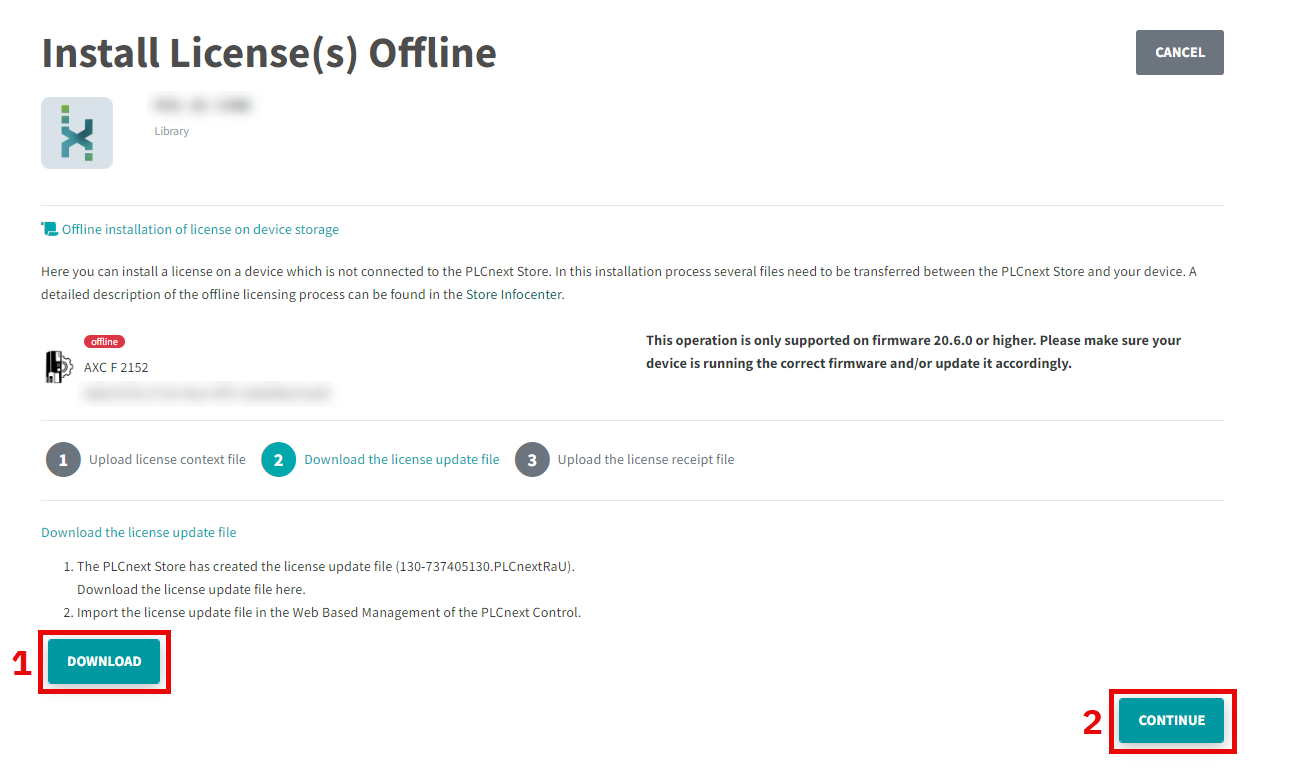
The PLCnext Store will generate a *.PLCnextRaU license update file based on the information from the uploaded license context file.
- Download the generated update file and save it on your PC:
- Click the button (1).
- Select the file and save it on your PC.
- Click the button (2).
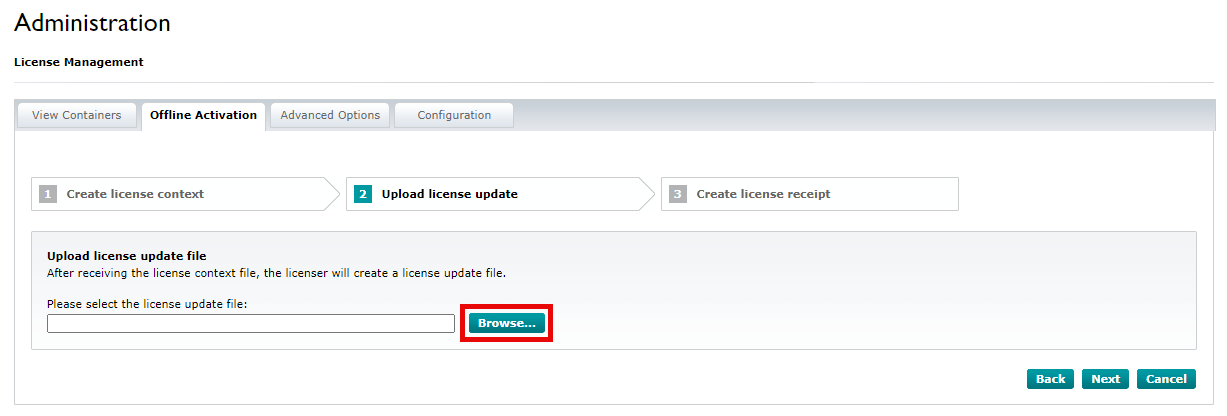
Switch to the WBM.
- Upload the *.PLCnextRaU license update file:
- Click the button and select the file.
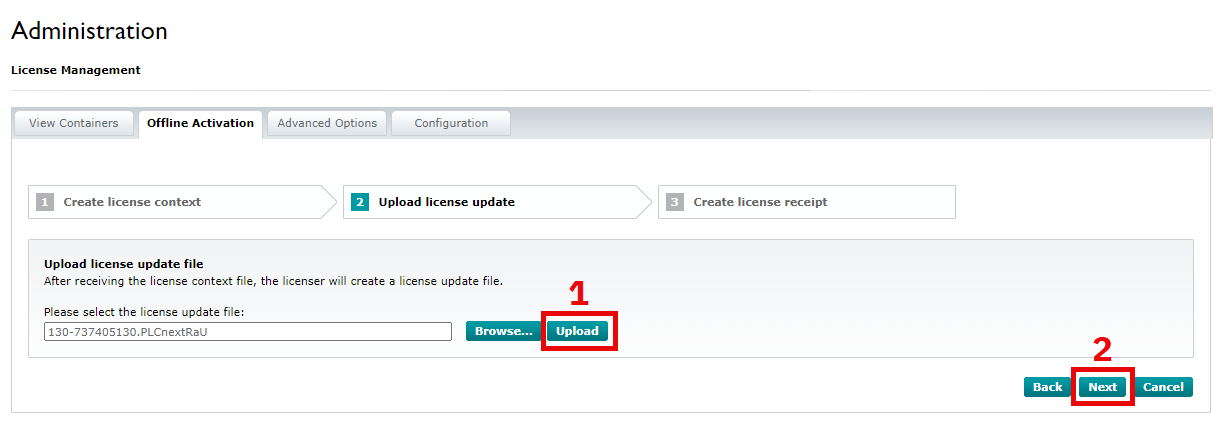
- Click the button (1) and then the button (2).
- Click the button and select the file.
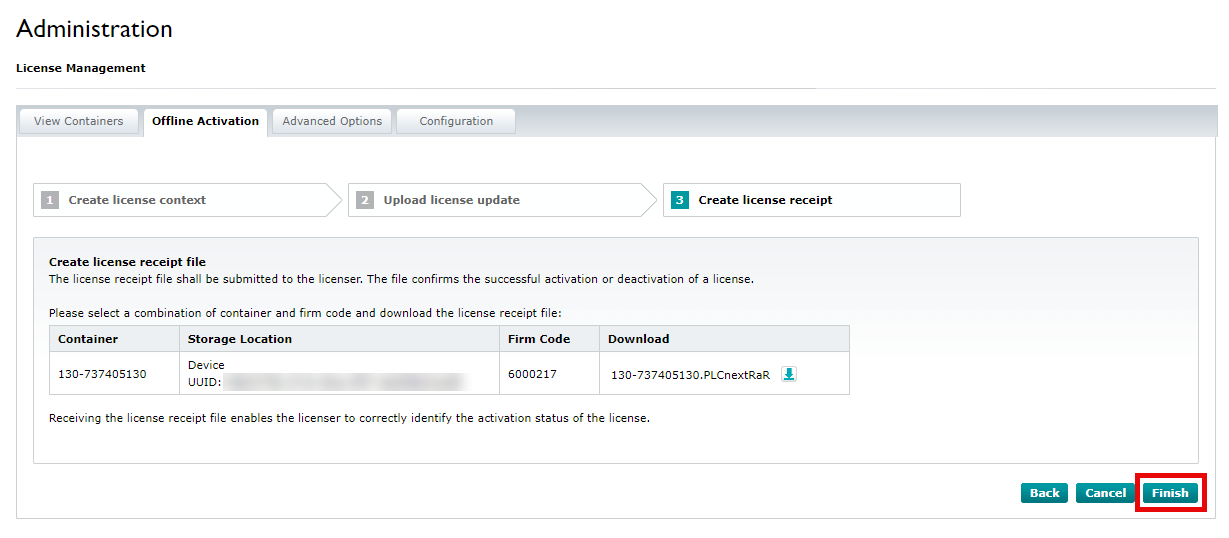
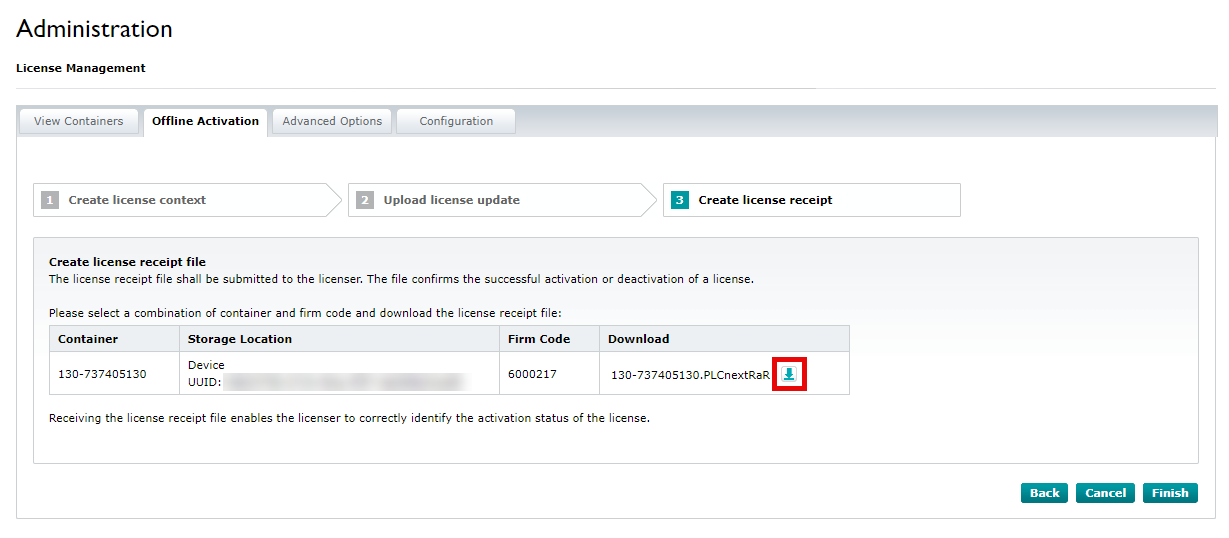
A *.PLCnextRaR license receipt file is generated and provided for download.
- Download the license receipt file (by clicking the ) and save it on your PC.
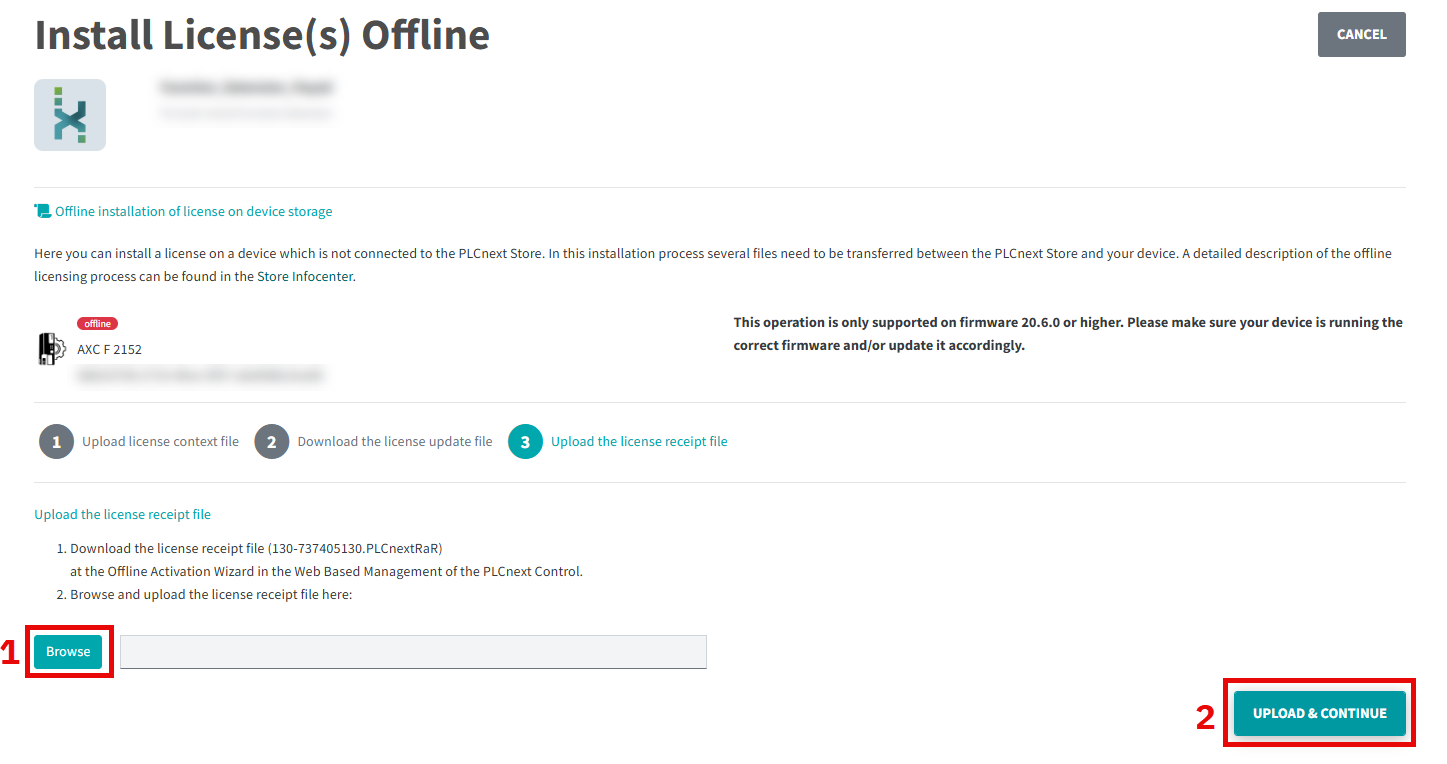
- Upload the *.PLCnextRaR license receipt file:
- Click the button (1).
- Select the *.PLCnextRaR license context file that you just saved on your PC.
- Click the button (2).
Switch to the WBM.
- Click the button.